Thursday, May 29, 2014

This day in Aviation History - May 29, 1929

Here's a short memory from the past to ponder this day, May 29, 2014.  Today is the 85th anniversary of the Gardner Trophy Air Race finals - May 29, 1929. 

What a day it would have been on that "Memorial Day" to see the sights and sounds of these interesting Air Race planes and to talk with the colorful people who made this day happen.

"Speed" Holman talks with mechanic "Doc" Kincaid

Read all about the Gardner Trophy Air Races here


Travel Air Pilot, Sydnor Hall
Holman's Laird

John P. Wood in his highly modified Waco Clipped/Taperwing
R.S. LeRoy in his Axelson Powered Cessna AF

Earl Rowland who raced the Cessna CM-1


Cessna DC-6A (Curtiss R-600 Engine) flown by Stanley T. Stanton

Art Davis' Taperwing Waco

J.P. Wood's Clipped Taperwing Waco


SOME MORE TIDBITS of information regarding the Indianapolis connection during the Gardner Race were found in

Indianapolis Times, Volume 41, Number 15, Indianapolis, 29 May 1929

May 27 -- Race Planes Pass Here Several airplanes which will participate in the St. Louis air races Memorial day passed through Indianapolis Tuesday', en route to St. Louis, most, of them stopping at the Mars Hill airport. The planes will race from St. Louis to Indianapolis and return, circling the speedway, where two captive balloons will serve as markers. H. Weir Cook, Curtiss Flying Service of Indiana general manager, will be Indianapolis referee. 

 Huge Plane to Offer Rides A opportunity to ride in a huge tri-motorea Ford monoplane will be offered Indianapolis citizens Thursday by Curtiss Flying Service of Indiana. H. "Weir Cook, general manager, said C. S. < Casey t Jones. Curtiss official, will fly the big plane here Wednesday evening. Passengers will be taken for rides around the Speedway during the race. The ship has a capacity of twelve passengers and two pilots. Plane Lavishly Fitted A handsome red six-place Travel Air cabin monoplane, on exhibition at Hoosier airport this week, has attracted much favorable attention. The plane was brought here for the air show week, and Sunday will be delivered to the Aviation Country Club of New York, which c’aims to be the wealthiest flying club in the world. The club has purchased six of the planes, each as complete and as richly appointed as the one displayed here. Each is fitted out with a miniature lavatory for cross-coun-try flying. Muncie Men Buy Planes Harry White and Fred Werts. Muncie, flew to Hoosier airport Tuesday in a Travel Air biplane and signed up to buy two more Travel I Airs from Hoosier,

 Rogers, noted humorist, will arrive in Indianapolis from New York over the Pennsylvania railroad at 8:05 a. m. Sunday to board the Transcontinental Air Transport trimotored Ford monoplane which is to make a test run of the route. Rogers will be rushed to the plane at the Mars Hill airport and will join in a group of other distinguished guests of T. A. T.. according to a letter received today by H. Weir Cook, general manager of Curtiss Flying Service of Indiana, from J. V. Magee. St. Louis. T. A. T. vice-president. The plane will leave Indianapolis for St. Louis about 9 a. m.. Cook said Aviation Sessions Near End Bu In it'd Prr ** ST. LOUIS.

 May 29.—Final sessions in the third annual aeronautics meeting of the American Society of Mechanical Engineers were scheduled for today to clear the way for the Gardner race trophy events at East St. Louis. 111., Thursday. The meeting closes tonight with a banquet at which twelve persons will receive gold watches for their efforts in the promotion of aviation.


Saturday, May 24, 2014

Oil Hydraulic Struts - Disassembly - WOW

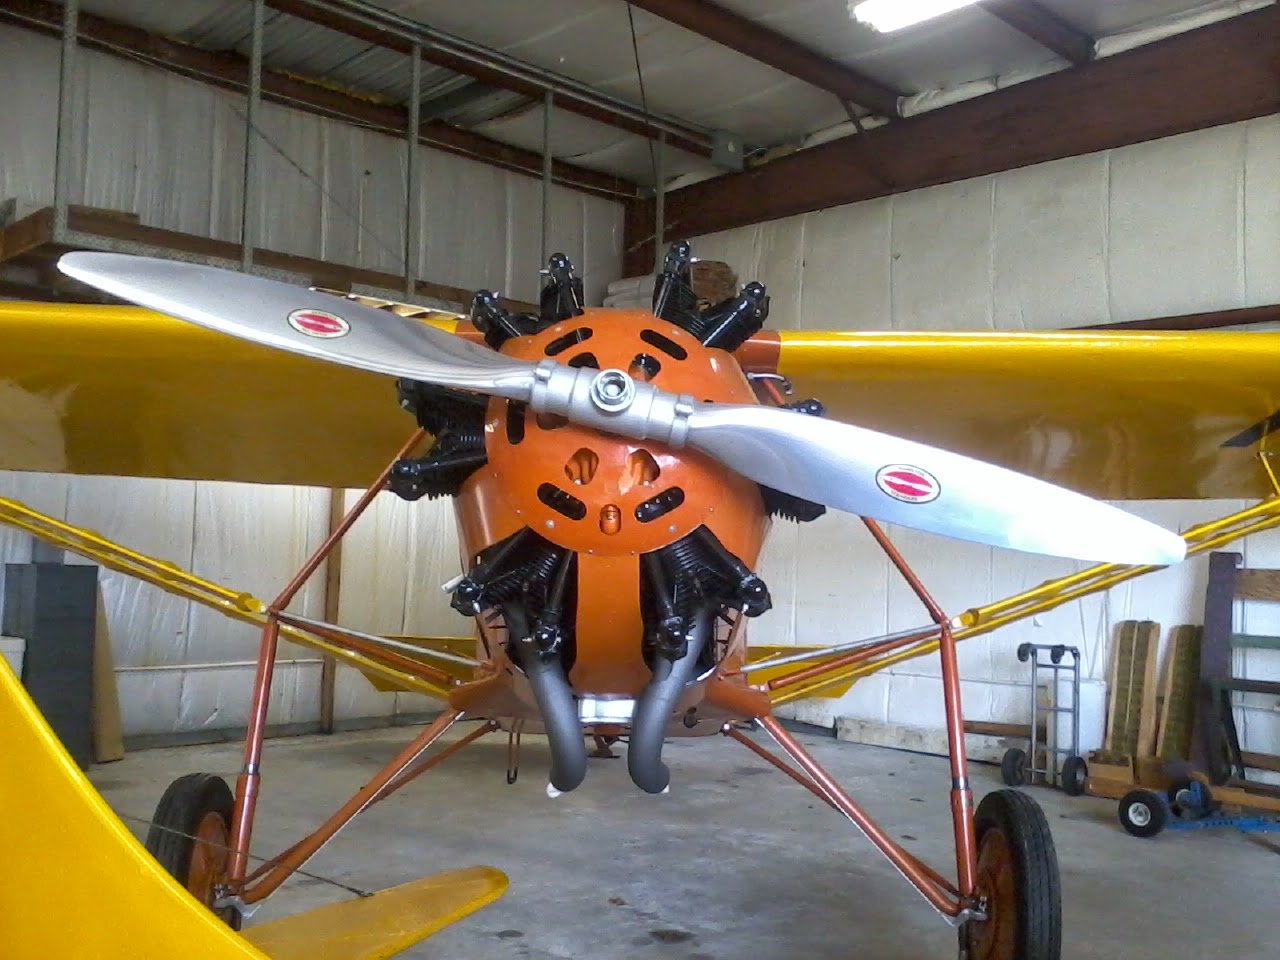
My #1 helper Lon Carr and I set aside this Saturday morning to work on the Curtiss Robin Oleo struts.  (See last week's posting).  Well, we were hoping that this would be a simple job.  Lon and I talked it over and planned to just drain, clean, service, and re-pack/re-seal these oleo struts. We really wanted to follow the advice we got from Lane Tufts.... "If it ain't broke, don't fix it!"  We decided to start out with the one oleo that had the worst visible corrosion on the external surfaces. I was all for that, until we saw this ugly site.

WOW - Surprize... at least 4 oz. of water and practically no oil 


There is a pipe plug at the top of the upper tube where you add oil, so the first order of business was to pull the plug and drain the oil.  There was practically NO OIL at all... but instead we drained approximately a half a cup of water.  That was the first sign that this wasn't going to be so simple. So we decided that we must go deeper and get this thing apart so we could inspect everything internally for corrosion.  So, the next job was to remove a set-screw (below) that locks the outer collet to the lower tube.

Set-screw that locks the outer collet to the lower tube.

 This and the next steps went pretty well.  The large castle nut around the upper tube was easily turned using a spanner wrench to back out of the internal threads on the lower tube.  We determined that the only function of this nut is to retain the packing seal material inside the upper cavity of the collet and hold it  firmly against the upper tube surface.

Lon removing the packing material.
Packing removed.
OK now with the packing removed, it was time to remove the collet from the lower tube.  The threaded interface is a very fine thread pitch.  And the collet was engaged onto those threads by more than 1/2 inch.  We were told that using a spanner wrench, this should not take much more than hand forces to loosen the collet... unless there was something wrong.   We quickly determined that the collet was not about to budge that easily. So, something must be wrong.... rust perhaps.  Penetrating oil was no help.

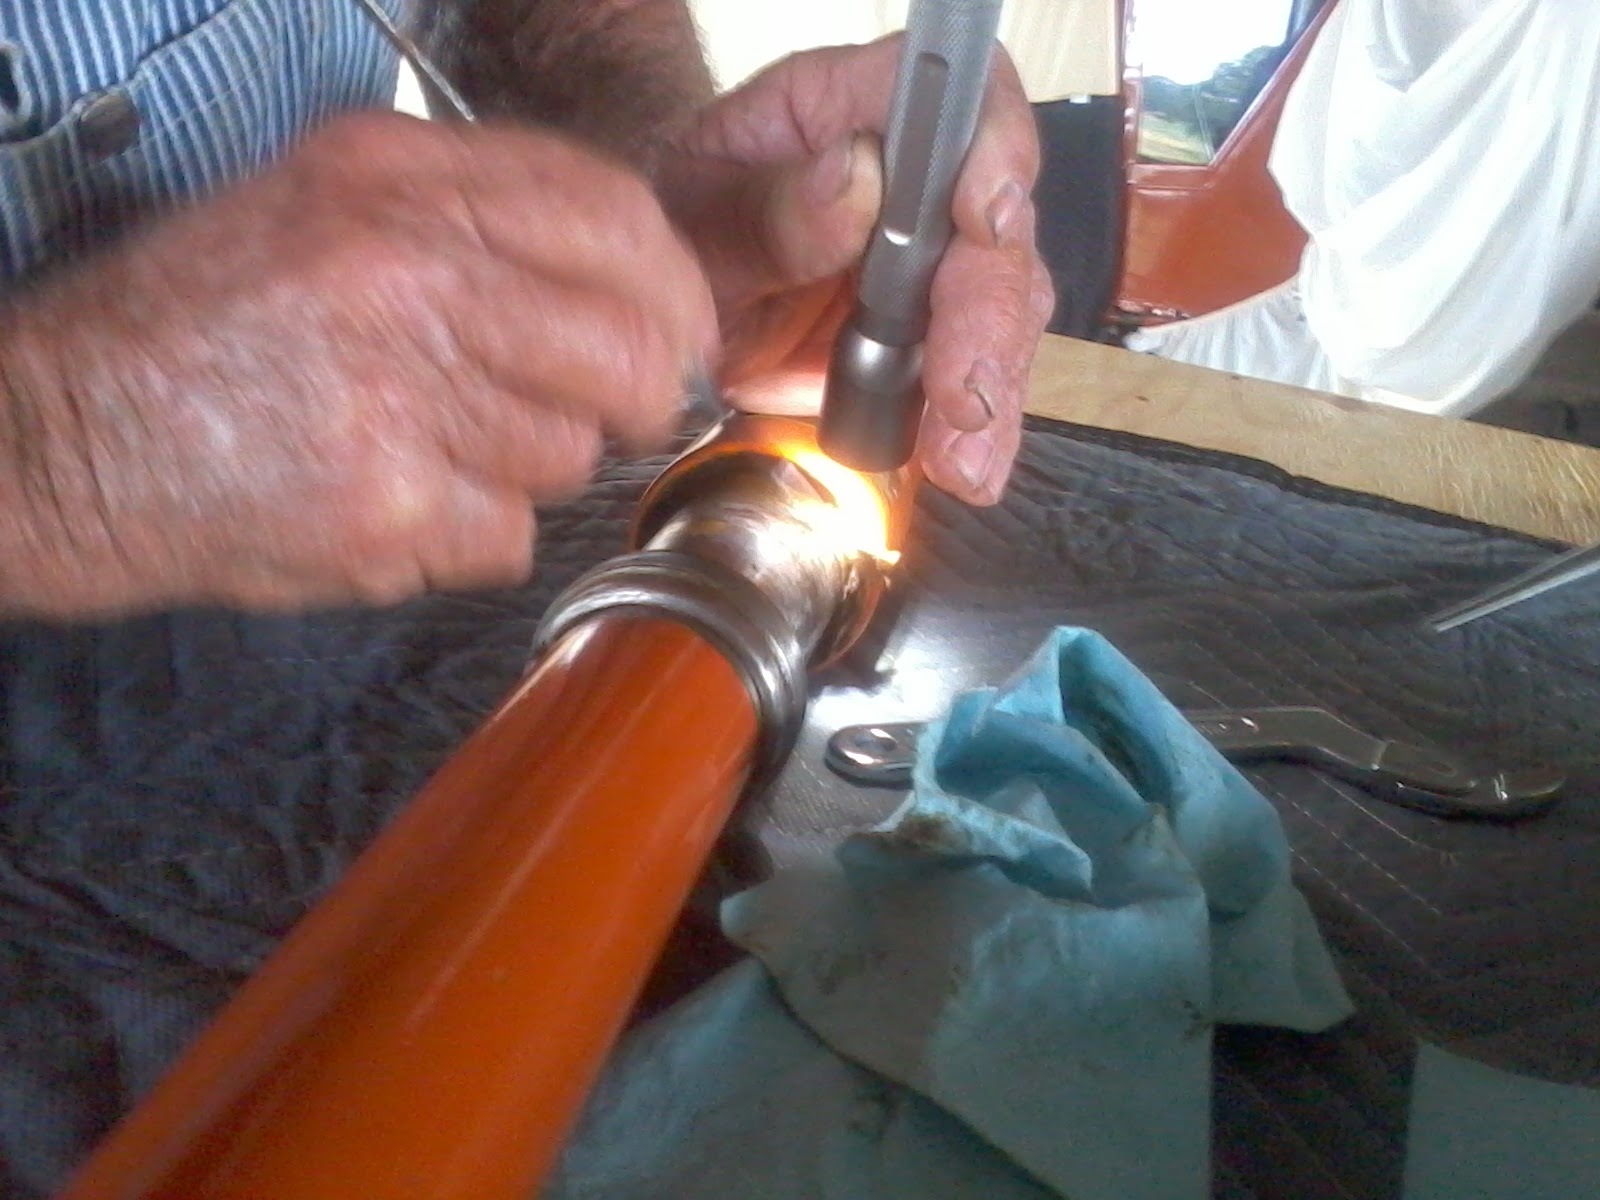
Up to this point, our plan was to try and keep from marring the paint too much.  But now, this thought went out the window... this baby is going to require heat.  This job suddenly became SERIOUS!  With so many threads engaged, this collet was not wanting to let go.  After several torching heat attempts, we finally had success using a dead blow hammer, striking the spanner wrench handle to shock-torque this thing.  Finally it let loose and we were in business.

Wrenching off the collet with a spanner after torch-heating.  That's gonna leave a mark!
So now we get to view the internal guts of this thing.  Two flat springs butted nose-to nose are designed to support the airplane when at rest.  I had never seen springs quite like these, but I guess they work.  There are additional thick aluminum spacers below the springs bottoming in the lower tube.  We concluded that these spacers are evidently used to set the extended height and to level the airplane when fully assembled. 

Flat coil springs removed from the lower tube.

Flat coil springs and aluminum spacers.
Now it was time to look at the upper tube and remove the piston from the bottom of the upper tube.  This job turned out pretty much the same as the collet job, requiring heat and dead-blow strikes on the spanner to jar the threads loose.


Piston on lower end of upper tube.  Note two holes that meter oil from the lower tube to the upper tube cavities to "absorb" the landing load.  These holes allow the oil to move at a controlled rate as the springs compress and weight comes down on the struts.  Really a simple design.
Holding apparatus on the bench to accommodate torching the threaded end of the tube.
Steam-pressure washing the parts.

Piston retainer wire and piston removed from upper tube.

I wonder how long this castle nut has had the crack.  We decided we can re-use the nut since it really is not under any significant operating load.  Its sole purpose is to retain the packing seal at the top of the collet against the moveable upper tube.
So now that we have both oleo struts fully disassembled, inspection of all parts from both struts reveal that most items are in good shape.  One stut had a missing retainer wire on the piston.at the lower end of the upper tube.  This can easily be made from spring wire.  Some minor work with a file to dress threads and polishing on the moving interface surfaces of the one tube is needed.  But the other tube has some bad corrosion issues.

Our next challenge is to deal with the pitting corrosion on the upper tube.  We are planning to have a local machine shop turn the upper fitting in a lathe to cut off the existing thin wall tube.  Then we will locate the appropriate tube stock and weld in a new tube on the fitting.  It will also need to be threaded on the bottom end for the fine thread interface with its piston.

I will try and provide updates as we get this done and the struts reassembled.  Meanwhile... I guess I need to get some paint matching done so we can spray these struts when  finished.

Friday, May 16, 2014

Oil Hydraulic Strut - Aircraft Products Corporation of America

Here's some helpful data for all of you Curtiss Robin restorers out there which use the "OIL HYDRAULIC STRUT" manufactured by Aircraft Products Corp. in Detroit Michigan in the late 1920's.  These struts may be used on other airplane models too, but I just don't know for sure which ones.


Finding technical data to support antique airplanes is often times a frustrating task that ends up in getting nowhere.  Amazingly, though, Google and other similar search tools on the internet have helped me many times.  We are getting ready this week to go into the landing gear shock struts on a 1929 Curtiss Robin.  The main reason is to replace the oil and seals which have been sitting dormant for the better part of nearly 40 years.  I consulted with Robin Restorer, Dick Fischer, who has done this before.  He cautioned me ahead of time that some of the parts are fragile and advised not to go into them too far, unless absolutely necessary. This just may be one of those... "If it ain't broke, don't fix it" kind of situations.  Especially if you have no manual or any way of knowing what you are going to find when you go inside.  Here's some of Dick's wise words...

"There's not a whole lot to see inside them, and not much to go wrong other than a broken spring or corrosion.  They will probably be a bear to take apart due to the fine threads at the bottom of the collar (where the slots for the spanner are).  The lower tube is also very thin wall, and can be easily ruined if you put too much torque on the collar to get them apart.  If they are seemingly OK, I'd think twice before taking them completely apart.

The struts all seem to leak out the top of the collar.  There is a graphite packing at the top of the collar which you can replace fairly easily, but it will no doubt leak even with new packing.  To access the packing you need to unscrew the "castle" nut at the top of the collar.  That's a pretty safe operation, but I don't recall whether you can remove the upper tube and spring at that point or if you have to unscrew the lower tube from the collar."


OK - I get it.  This is possibly going to be an adventure.  More than ever, after reading what Dick had to say, I really want to read up on this before diving in.  None of the books in my library collection have anything on these struts.  And after checking with a few airplane restorer friends, I was having no luck finding any information.  So in a final desperate attempt... I went to Google.

Lo and behold.... under the search terms of "oil hydraulic strut aircraft products corp michigan" I struck GOLD.  It turns out that these very struts were patented... applied for in May 1929 and patent issued in Dec. 1932.  The patent information, though written in the old school technical prose, is just about as good as any manual and with this, I now have the confidence to go into these struts.

But I still think I must heed Dick's advice and simply replace the fluid and packing seal.  Seeing how these units are constructed tells me that a good "inside-out" mineral spirits bath, fresh oil, and packing should go a long way toward getting these struts back in service.     Here's the published patent information.  perhaps this will help some other restorers in the future.


Barnstmr's Random Slideshow

Blog Followers